How to Apply for a Digital Nomad Visa Step by Step
The process looks a little different in every country. No single checklist fits all of them. But the core steps? Surprisingly consistent. Country to country, they barely move. Here’s the general path I’ve watched most applicants follow, start to finish.
📌 Related reading: 2026 Best Countries for Digital Nomad Visas
In This Guide

Steps
Step 1: Confirm You Meet the Minimum Income Requirement
Check the published income threshold first. It is specific to your target country. Then work out your average monthly remote income across the required lookback period. That window is often the last 3 to 6 months. Here’s the catch. These thresholds usually track a multiple of the local minimum wage. They get bumped every so often. So that number someone quoted in a forum a year ago? It may already be stale. Pull the current official figure yourself.
Step 2: Gather Proof of Remote Employment or Freelance Income
Remote employees usually need an employer letter. Freelancers need invoices. And bank statements showing steady income from outside the destination country. I once lined up several country programs side by side. One thing stood out. The documentation demands varied far more in formatting than in substance. Most just want to see the same income landing consistently across the lookback window. How you present it matters less than you’d expect.
Step 3: Secure Private Health Insurance Covering the Destination Country
Most nomad visas want proof of health insurance. It has to stay valid in-country. For the whole visa duration. Get a quote before you apply. Coverage rules differ from one country to the next. Some even name a minimum coverage amount. A set figure for medical evacuation, say. Or hospitalization. A cheap travel policy grabbed at the last minute? It may not clear that bar.
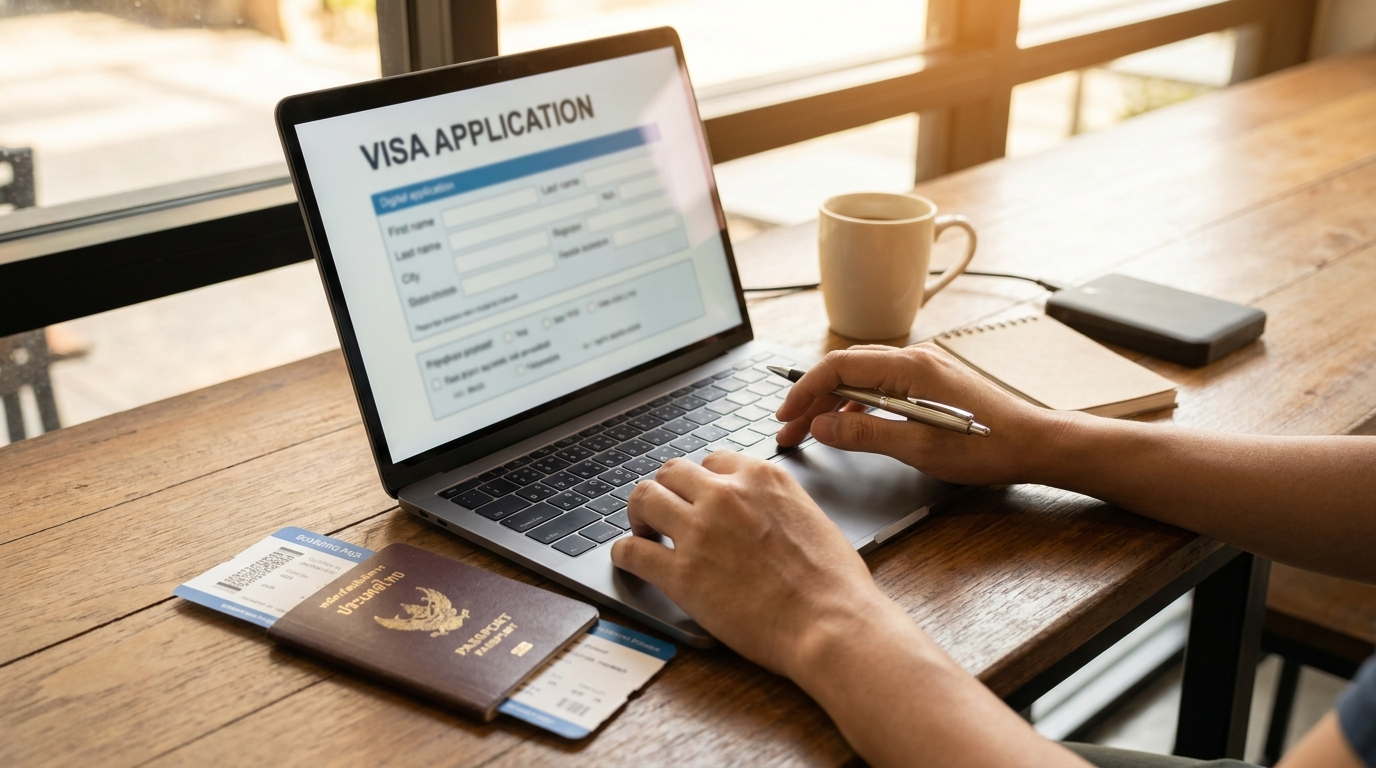
Step 4: Complete the Official Application Through the Correct Channel
Apply through the country’s embassy, consulate, or dedicated online portal. Never a third-party “visa service” site, unless it’s an officially recognized partner. And if you’ve been leaning on an AI assistant for answers, double-check everything against the actual government source before you submit. I treat AI answers the same way here as I do anywhere else. Verify first, trust second. Our guide on how to fact-check an AI-generated answer lays out a quick way to do it.
Step 5: Wait for Processing and Prepare for Possible Follow-Up Requests
Processing times swing from a few weeks to a few months. When they ask for extra documentation, reply fast. A slow response to a routine follow-up is, honestly, one of the most common reasons a clean application drags on far longer than it should.
Step 6: Plan Your Budget Before, Not After, You Relocate
Once you’re approved, sketch out a realistic monthly budget for your destination. Do it before you move, not after. Factor in exchange-rate swings. Factor in what local housing actually costs. Our guide on how to budget your monthly expenses as a digital nomad walks through a simple framework I’d start with.
Tips

- ✅ Start pulling your financial documents together at least 2-3 months before you plan to apply.
- ✅ Get a local tax consultation before you relocate any income, even when the visa itself looks straightforward.
- ✅ Keep both digital and physical copies of every document you hand over.
- ✅ Check whether your home country has a tax treaty or exclusion that touches income earned abroad. It can change your planning a lot.
Things You’ll Need
- Proof of remote income (employer letter or freelance invoices/bank statements)
- Valid passport with sufficient remaining validity
- Private health insurance covering the destination country
- Proof of accommodation (varies by country)
- Clean criminal background check (required by many programs)
Warnings
⚠️ Visa requirements change often. Always verify the current rules on the official government or embassy website before you apply. ⚠️ Don’t assume a digital nomad visa quietly cancels your home-country tax obligations. Plenty of countries still expect you to file, even while you’re living abroad. ⚠️ This article is for informational purposes only and is not immigration or legal advice.
Q&A
How long does the application process usually take?
Anywhere from a few weeks to several months. It really depends on the country. My advice? Apply well ahead of the date you actually want to move.
Can I apply for a digital nomad visa while already inside the country?
Sometimes. A handful of countries allow it. Others insist you apply from home. Check the specific program’s rules before you travel anywhere.
Does a digital nomad visa let me pay taxes only in the new country?
Not automatically, no. Tax residency and visa status are two separate things. In my own reading of these programs, many nomads still owe taxes back home. It hinges on citizenship and time spent abroad. Lean on official guidance here rather than a hopeful assumption.
Frequently Asked Questions
Can my family join me on a digital nomad visa?
Many programs let a spouse and children come as dependents, but they typically ask for extra documents and a higher income threshold than a solo applicant. The rules differ a lot between countries, so check the specific program’s official page for dependent requirements.
What if my income comes from a foreign employer rather than freelancing?
Most digital nomad visas simply require that your income originates outside the host country, which covers both a foreign-employer salary and freelance clients. A few programs exclude any locally sourced income, so verify the exact income rules before applying.
What happens if my visa expires while I am still abroad?
Overstaying can lead to fines or future entry bans. Some programs allow renewal from inside the country, while others require you to leave and reapply from home. Confirm the renewal path on the official immigration or embassy site well before the expiry date.
Sources: IRS — Foreign Earned Income Exclusion, European Commission — Schengen Borders and Visa Policy. Fact-checked based on public sources as of July 20, 2026.